Kotlin Multiplatform: Applying the MVVM Pattern
This post aims to provide a quick overview of the steps necessary to apply the MVVM pattern in Kotlin Multiplatform application.
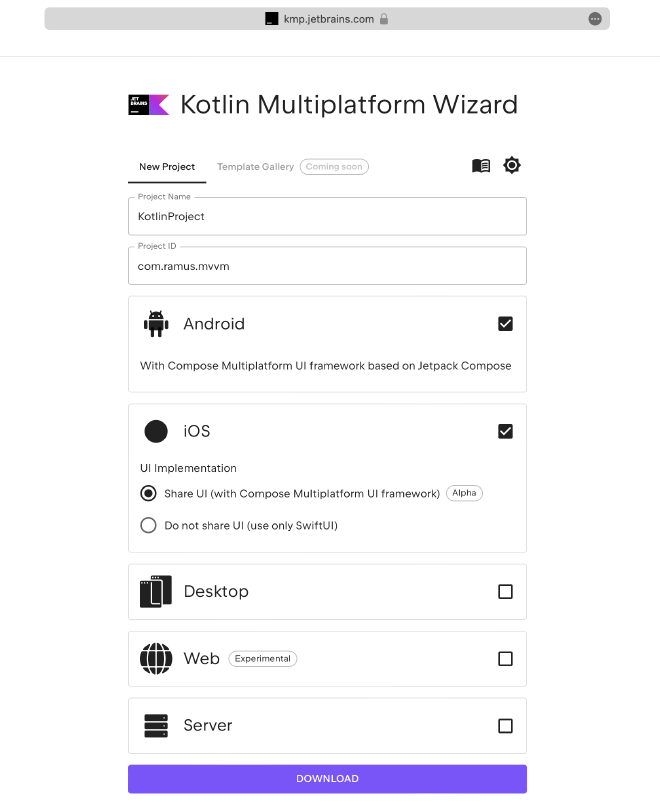
The starting point is a freshly downloaded project template from the Kotlin Multiplatform Wizard.

This post will not provide information about what MVVM is or its advantages or disadvantages. The main purpose of this post is to serve as a note on the steps to take in a fresh project whenever I need to use this pattern in a new application.
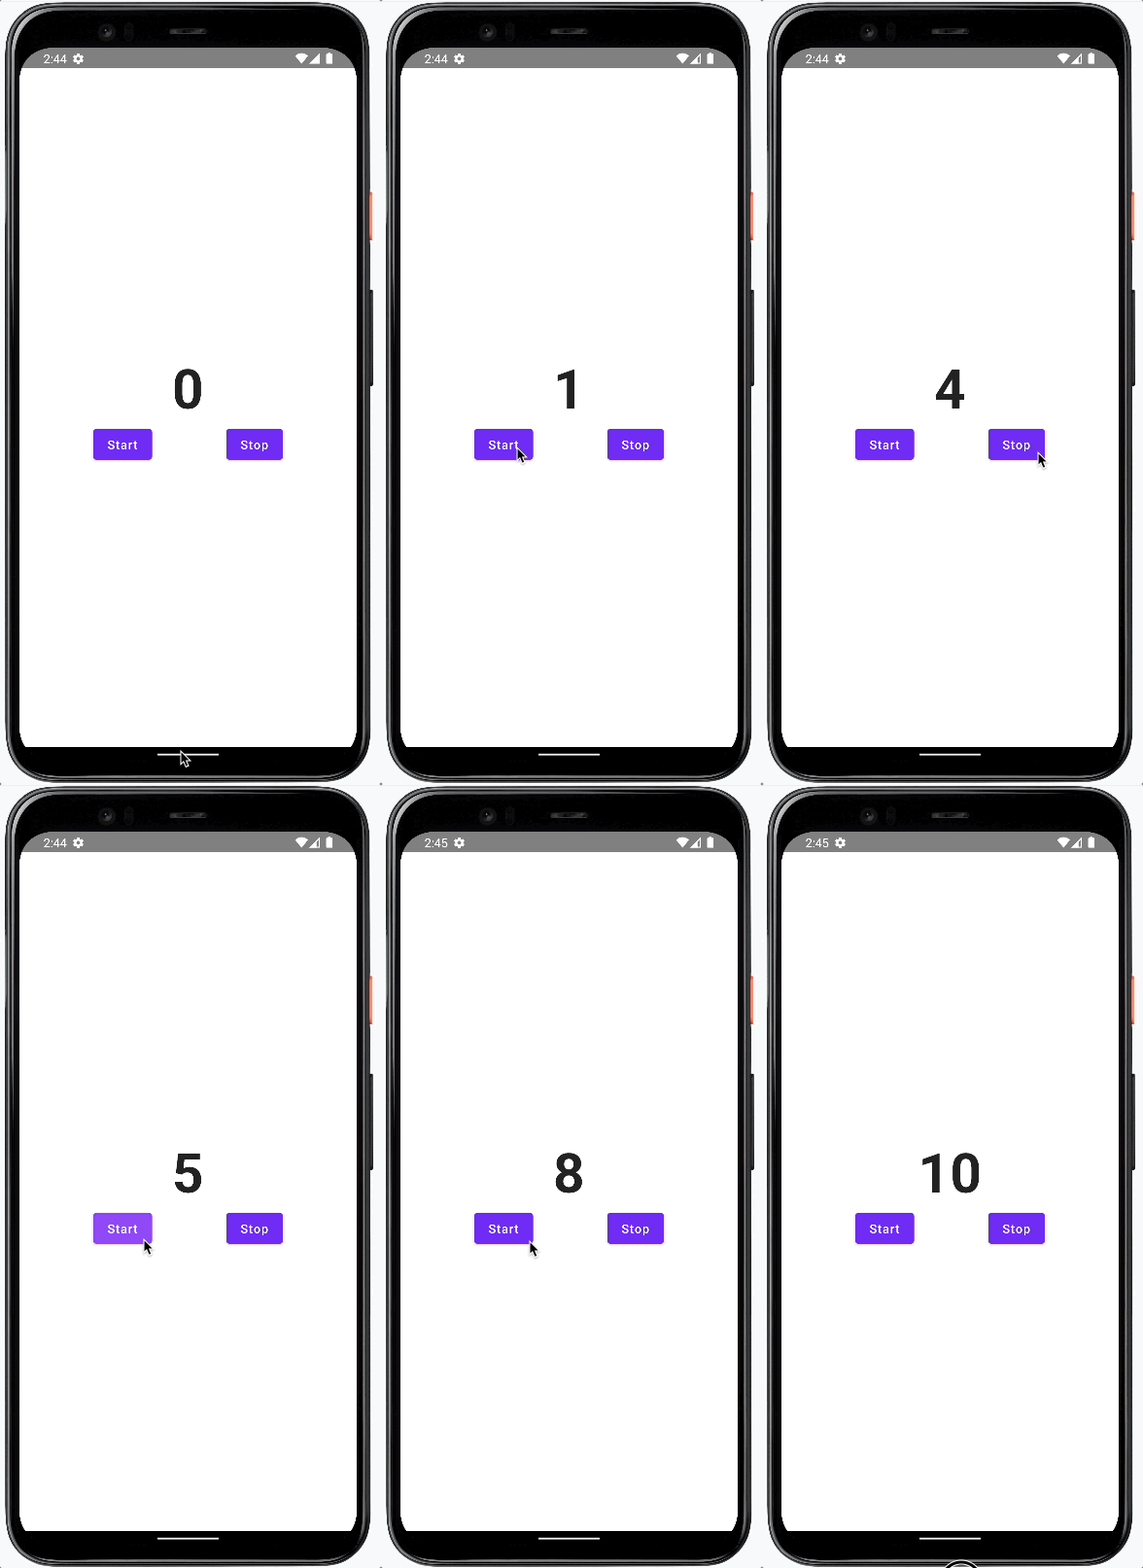
The result of this post is a simple application that displays a counter. The user can start and stop the counter by pressing the corresponding buttons.
This is how it is going to look.

We are following a bottom-up approach to go through the following steps and add or modify specific parts and components of the app.
- Gradle Dependencies
- States and Events
- Repository
- View-Model
- View
- Application
Gradle Dependencies #
For my multi-platform projects, I have decided to use MOKO MVVM.
In gradle/libs.versions.toml, add the required version and modules.
[versions]
mvvm = "0.16.1"

[libraries]
mvvm-compose = { module = "dev.icerock.moko:mvvm-compose", version.ref = "mvvm" }
mvvm-core = { module = "dev.icerock.moko:mvvm-core", version.ref = "mvvm" }
Then reference the dependencies in composeApp/build.gradle.kts.
kotlin {
  androidTarget {
    compilations.all {
      kotlinOptions {
        jvmTarget = "17"
      }
    }
  }
  sourceSets {
		commonMain.dependencies {
		  implementation(libs.mvvm.core)
		  implementation(libs.mvvm.compose)
		}
  }
}

android {
	compileOptions {
		sourceCompatibility = JavaVersion.VERSION_17
		targetCompatibility = JavaVersion.VERSION_17
	}
}
States and Events #
The view and the view model communicate solely through states and events.
For the state, create the following composeApp/src/commonMain/kotlin/NumberState.kt.
data class NumberState(
    val number: Int
)
Respectively, add the event in composeApp/src/commonMain/kotlin/NumberEvent.kt.
sealed class NumberEvent {
    object Start : NumberEvent()
    object Stop : NumberEvent()
}
Repository #
Data originates from the repository that we created in composeApp/src/commonMain/kotlin/NumberRepository.kt.
import kotlinx.coroutines.CoroutineScope
import kotlinx.coroutines.Dispatchers
import kotlinx.coroutines.Job
import kotlinx.coroutines.delay
import kotlinx.coroutines.flow.MutableStateFlow
import kotlinx.coroutines.flow.asStateFlow
import kotlinx.coroutines.launch

class NumberRepository {
    private val _number = MutableStateFlow(0)
    val number = _number.asStateFlow()

    private var job: Job? = null

    fun start() {
        job = CoroutineScope(Dispatchers.Default).launch {
            while (true) {
                delay(1000)
                _number.value += 1
            }
        }
    }

    fun stop() {
        job?.cancel()
    }
}
View Model #
Time to create the view model. We will create it in composeApp/src/commonMain/kotlin/NumberViewModel.kt.
import dev.icerock.moko.mvvm.viewmodel.ViewModel
import kotlinx.coroutines.flow.MutableStateFlow
import kotlinx.coroutines.flow.asStateFlow
import kotlinx.coroutines.flow.update
import kotlinx.coroutines.launch

class NumberViewModel(val repository: NumberRepository) : ViewModel() {

    val _state = MutableStateFlow(NumberState(0))
    val state = _state.asStateFlow()

    init {
        viewModelScope.launch {
            repository.number.collect { newNumber ->
                _state.update {
                    it.copy(number = newNumber)
                }

            }
        }
    }

    fun onEvent(event: NumberEvent) {
        when (event) {
            NumberEvent.Start -> repository.start()
            NumberEvent.Stop -> repository.stop()
        }
    }
}
View #
As the second-to-last step, we will create our view: composeApp/src/commonMain/kotlin/NumberView
@Composable
fun NumberView(state: NumberState, onEvent: (NumberEvent) -> Unit) {
    Column(
        modifier = Modifier.fillMaxSize(),
        verticalArrangement = Arrangement.Center,
        horizontalAlignment = Alignment.CenterHorizontally
    ) {
        Column {
            Text(
                text = "${state.number}", fontSize = 64.sp, fontWeight = FontWeight.Bold
            )
        }

        Row(
            modifier = Modifier.fillMaxWidth(), horizontalArrangement = Arrangement.SpaceEvenly
        ) {
            Button(onClick = { onEvent(NumberEvent.Start) }) {
                Text("Start")
            }
            Button(onClick = { onEvent(NumberEvent.Stop) }) {
                Text("Stop")
            }
        }
    }
}
Application #
Finally, we wire everything up in our top-level “App”-Composable: composeApp/src/commonMain/kotlin/App.kt
import androidx.compose.material.MaterialTheme
import androidx.compose.runtime.Composable
import androidx.compose.runtime.collectAsState
import androidx.compose.runtime.getValue
import dev.icerock.moko.mvvm.compose.getViewModel
import dev.icerock.moko.mvvm.compose.viewModelFactory
import org.jetbrains.compose.resources.ExperimentalResourceApi

@Composable
fun App() {
    MaterialTheme {
        val numberRepository = NumberRepository()
        val numberViewModel = getViewModel(
            Unit,
            viewModelFactory { NumberViewModel(numberRepository) }
        )
        val state by numberViewModel.state.collectAsState()

        NumberView(state, numberViewModel::onEvent)
    }
}
That’s it. We have now extended the out-of-the-box multi-platform project template with an MVVM pattern that can be customised and extended according to your needs.